🎼 Cheatsheet#
Installation#
First things first! You can use a basic pip install to install for pypi, but we also provide some custom extras and more developer-related installment options.
pip install argilla
pip install argilla[listeners] # use argilla.listeners background processes
pip install argilla[server] # running FastAPI locally
pip install argilla[postgresql] # use PostgreSQL instead of SQLite as database
pip install argilla[integrations] # use integrations with other libraries/frameworks
pip install argilla[tests] # running tests locally
pip install -U git+https://github.com/argilla-io/argilla.git
Note
Make sure you have the latest version of Argilla (and other packages) installed, so you can use all of the features!
To check which version you have, use pip show argilla. You can also install a specific version of the package
(by running pip install argilla==1.11.0, for example) or simply update to the latest version with pip install argilla --upgrade.
Before being able to use Argilla from our Python library, you first need to deploy our FastAPI server, Elastic Search and the Argilla UI. We also have a more extensive tutorial on deployments and configurations.
docker run -d --name argilla -p 6900:6900 argilla/argilla-quickstart:latest
wget -O docker-compose.yaml https://raw.githubusercontent.com/argilla-io/argilla/main/docker/docker-compose.yaml && docker-compose up -d
Warning
HuggingFace Spaces now have persistent storage and this is supported from Argilla 1.11.0 onwards, but you will need to manually activate it via the HuggingFace Spaces settings. Otherwise, unless you’re on a paid space upgrade, after 48 hours of inactivity the space will be shut off and you will lose all the data. To avoid losing data, we highly recommend using the persistent storage layer offered by HuggingFace.

Connect to Argilla#
To get started with your data from our Python library, we first need to connect to our FastAPI server. This is done via httpx using an API key and a URL. Or take a more extensive look here.
By default Argilla connects to localhost:6900 using the argilla.apikey in the background.
# MacOS
export ARGILLA_API_URL="argilla-api-url"
export ARGILLA_API_KEY="argilla-api-key"

# Windows
setx ARGILLA_API_URL="argilla-api-url"
setx ARGILLA_API_URL="argilla-api-key"
import argilla as rg

rg.init(
    api_url="argilla-api-url",
    api_key="argilla-api-key"
)
from argilla.client.client import Argilla

client = Argilla(
    api_url="argilla-api-url",
    api_key="argilla-api-key"
)
From 1.16.0 version you can use the CLI to connect to an Argilla server.
First login to the Argilla server using the CLI
argilla login --api-url http://localhost:6900 --api-key argilla.apikey
Then call init function without arguments to use the stored credentials created by the login command
import argilla as rg

rg.init()
Configure datasets#
Before getting started with any textual data project, we advise setting up annotation guidelines and a labeling schema. Need some more context? Take a look here.
import argilla as rg

dataset = rg.FeedbackDataset(
    guidelines="Add some guidelines for the annotation team here.",
    fields=[
        rg.TextField(name="prompt", title="Human prompt"),
        rg.TextField(name="output", title="Generated output", use_markdown=True)
    ],
    questions =[
        rg.RatingQuestion(
            name="rating",
            title="Rate the quality of the response:",
            description="1 = very bad - 5= very good",
            required=True,
            values=[1,2,3,4,5]
        ),
        rg.TextQuestion(
            name="corrected-text",
            title="Provide a correction to the response:",
            required=False,
            use_markdown=True
        )
    ]
)

dataset.push_to_argilla(name="my_dataset", workspace="my_workspace")
import argilla as rg

settings = rg.TextClassificationSettings(label_schema=["A", "B", "C"])

rg.configure_dataset_settings(name="my_dataset", settings=settings)
import argilla as rg

settings = rg.TokenClassificationSettings(label_schema=["A", "B", "C"])

rg.configure_dataset_settings(name="my_dataset", settings=settings)
Because we do not require a labeling schema for Text2Text, we can create a dataset by directly logging records via rg.log().
Note that feedback datasets support different types of questions. For more info on each of them, check out this section.
rg.LabelQuestion(
    name="relevant",
    title="Is the response relevant for the given prompt?",
    labels={"YES": "Yes", "NO": "No"}, # or ["YES","NO"]
    required=True,
    visible_labels=None
)

rg.MultiLabelQuestion(
    name="content_class",
    title="Does the response include any of the following?",
    description="Select all that apply",
    labels={"hate": "Hate Speech" , "sexual": "Sexual content", "violent": "Violent content", "pii": "Personal information", "untruthful": "Untruthful info", "not_english": "Not English", "inappropriate": "Inappropriate content"}, # or ["hate", "sexual", "violent", "pii", "untruthful", "not_english", "inappropriate"]
    required=False,
    visible_labels=4,
    labels_order="natural"
)

rg.RankingQuestion(
    name="preference",
    title="Order replies based on your preference",
    description="1 = best, 3 = worst. Ties are allowed.",
    required=True,
    values={"reply-1": "Reply 1", "reply-2": "Reply 2", "reply-3": "Reply 3"} # or ["reply-1", "reply-2", "reply-3"]
)

rg.RatingQuestion(
    name="quality",
    title="Rate the quality of the response:",
    description="1 = very bad - 5= very good",
    required=True,
    values=[1, 2, 3, 4, 5]
)

rg.SpanQuestion(
    name="entities",
    title="Highlight the entities in the text:",
    labels={"PER": "Person", "ORG": "Organization", "EVE": "Event"},
    # or ["PER", "ORG", "EVE"],
    field="text",
    required=True,
    allow_overlapping=False
)

rg.TextQuestion(
    name="corrected-text",
    title="Provide a correction to the response:",
    required=False,
    use_markdown=True
)

Create records#
We support different tasks within the Argilla eco-system focused on NLP: Text Classification, Token Classification, Text2Text and LLM-related Feedback. To know more about creation, take a look here.
import argilla as rg

record = rg.FeedbackRecord(
    fields={
        "question": "Why can camels survive long without water?",
        "answer": "Camels use the fat in their humps to keep them filled with energy and hydration for long periods of time."
    },
    metadata={"source": "encyclopedia"},
    external_id='rec_1'
)

import argilla as rg

rec = rg.TextClassificationRecord(
    text="beautiful accomodations stayed hotel santa... hotels higer ranked website.",
    prediction=[("price", 0.75), ("hygiene", 0.25)],
    annotation="price"
)
rg.log(records=rec, name="my_dataset")

import argilla as rg

rec = rg.TextClassificationRecord(
    text="damn this kid and her fancy clothes makes me feel like a bad parent.",
    prediction=[("admiration", 0.75), ("annoyance", 0.25)],
    annotation=["price", "annoyance"],
    multi_label=True
)
rg.log(records=rec, name="my_dataset")

import argilla as rg

record = rg.TokenClassificationRecord(
    text="Michael is a professor at Harvard",
    tokens=["Michael", "is", "a", "professor", "at", "Harvard"],
    prediction=[("NAME", 0, 7, 0.75), ("LOC", 26, 33, 0.8)],
    annotation=[("NAME", 0, 7), ("LOC", 26, 33)],
)
rg.log(records=rec, name="my_dataset")

import argilla as rg

record = rg.Text2TextRecord(
    text="A giant giant spider is discovered... how much does he make in a year?",
    prediction=["He has 3*4 trees. So he has 12*5=60 apples."],
)
rg.log(records=rec, name="my_dataset")

Query datasets#
To search your data from the UI or the Python library, you need to be able to write Lucene Query Language (LQL), which is native to Elastic Search and Open Search. To know more about querying and searching, take a look here.
The text field uses Elasticsearch’s standard analyzer that ignores capitalization and removes most of the punctuation;
The text.exact field uses the whitespace analyzer that differentiates between lower and upper case, and does take into account punctuation;
text:dog.ortext:fox: matches both of the records.text.exact:dogortext.exact:FOX: matches none of the records.text.exact:dog.ortext.exact:fox: matches only the first record.text.exact:DOGortext.exact:FOX\!: matches only the second record.
Similar reasoning holds for the inputs to look for records in which the subject-key contains the word news, you would search for
inputs.subject:news
Again, as with the text field, you can also use the white space analyzer to perform more fine-grained searches by specifying the exact field.
inputs.subject.exact:NEWS

Imagine you provided the split to which the record belongs as metadata, that is metadata={"split": "train"} or metadata={"split": "test"}.
Then you could only search your training data by specifying the corresponding field in your query:
metadata.split:train
Just like the metadata, you can also use the filter fields in your query. A few examples to emulate the filters in the query string are:
status:Validatedannotated_as:HAMpredicted_by:Model A
Ranges can be specified for date, numeric or string fields. Inclusive ranges are specified with square brackets and exclusive ranges are with curly brackets:
score:[0.5 TO 0.6]score:{0.9 TO *}event_timestamp:[1984-01-01T01:01:01.000000 TO *]last_updated:{* TO 1984-01-01T01:01:01.000000}
You can combine an arbitrary amount of terms and fields in your search using the familiar boolean operators AND, OR and NOT.
The following examples showcase the power of these operators:
text:(quick AND fox): Returns records that contain the word quick and fox. TheANDoperator is the default operator, sotext:(quick fox)is equivalent.text:(quick OR brown): Returns records that contain either the word quick or brown.text:(quick AND fox AND NOT news): Returns records that contain the words quick and fox, and do not contain news.metadata.split:train AND text:fox: Returns records that contain the word fox and that have the metadata “split: train”.NOT _exists_:metadata.split: Returns records that don’t have a metadata split.
Regular expression patterns can be embedded in the query string by wrapping them in forward slashes “/”:
text:/joh?n(ath[oa]n)/: Matches jonathon, jonathan, johnathon, and johnathan.
The supported regular expression syntax is explained in the official Elasticsearch documentation.
You can search for terms that are similar to, but not exactly like the search terms, using the fuzzy operator. This is useful to cover human misspellings:
text:quikc~: Matches quick and quikc.
Wildcard searches can be run on individual search terms, using ? to replace a single character, and * to replace zero or more characters:
text:(qu?ck bro*)text.exact:"Lazy Dog*": Matches, for example, “Lazy Dog”, “Lazy Dog.”, or “Lazy Dogs”.inputs.\*:news: Searches all input fields for the word news.
Semantic search#
Semantic search or vector search is an amazingly powerful tool to sift through text based on sensical intuition instead of keywords. We use the native Elastic Search vector support to empower our users to navigate their records. Want to know more about this? Take a look here.
import argilla as rg

# We allow for a maximum of 5 vectors.
record = rg.TextClassificationRecord(
    text="Hello world, I am a vector record!",
    vectors= {"my_vector_name": [0, 42, 1984]}
)
rg.log(name="dataset", records=record)
import argilla as rg

# We return the 50 most similar records
records = rg.load(name="dataset", vector=("my_vector_name", [0, 43, 1985]))

Weak supervision#
Weak supervision for NLP is like teaching a model with “approximate” answers instead of perfect ones. It uses clever tricks and shortcuts to avoid the need for labor-intensive labeling. It’s like giving the model training wheels to learn on its own. While it’s not as accurate as traditional supervision, it allows training on a much larger scale. Want to know more, look here.
from argilla.labeling.text_classification import add_rules, delete_rules, Rule, update_rules

# Create
rule = Rule(query="positive impact", label="optimism")
add_rules(dataset="my_dataset", rules=[rule])

# Update
rule.label = "pessimism"
update_rules(dataset="my_dataset", rules=[rule])

# Delete
delete_rules(dataset="my_dataset", rules=[rule])
from argilla.labeling.text_classification import WeakLabels, load_rules

rules = load_rules("my_dataset")

weak_labels = WeakLabels(
    rules=rules,
    dataset="my_dataset"
)

weak_labels.summary()
from argilla.labeling.text_classification import MajorityVoter, #Snorkel, #FlyingSquid

majority_model = MajorityVoter(weak_labels)
majority_model.score(output_str=True)
records_for_training = majority_model.predict()

# optional: log the records to a new dataset in Argilla
rg.log(records_for_training, name="majority_voter_results")

Train Models#
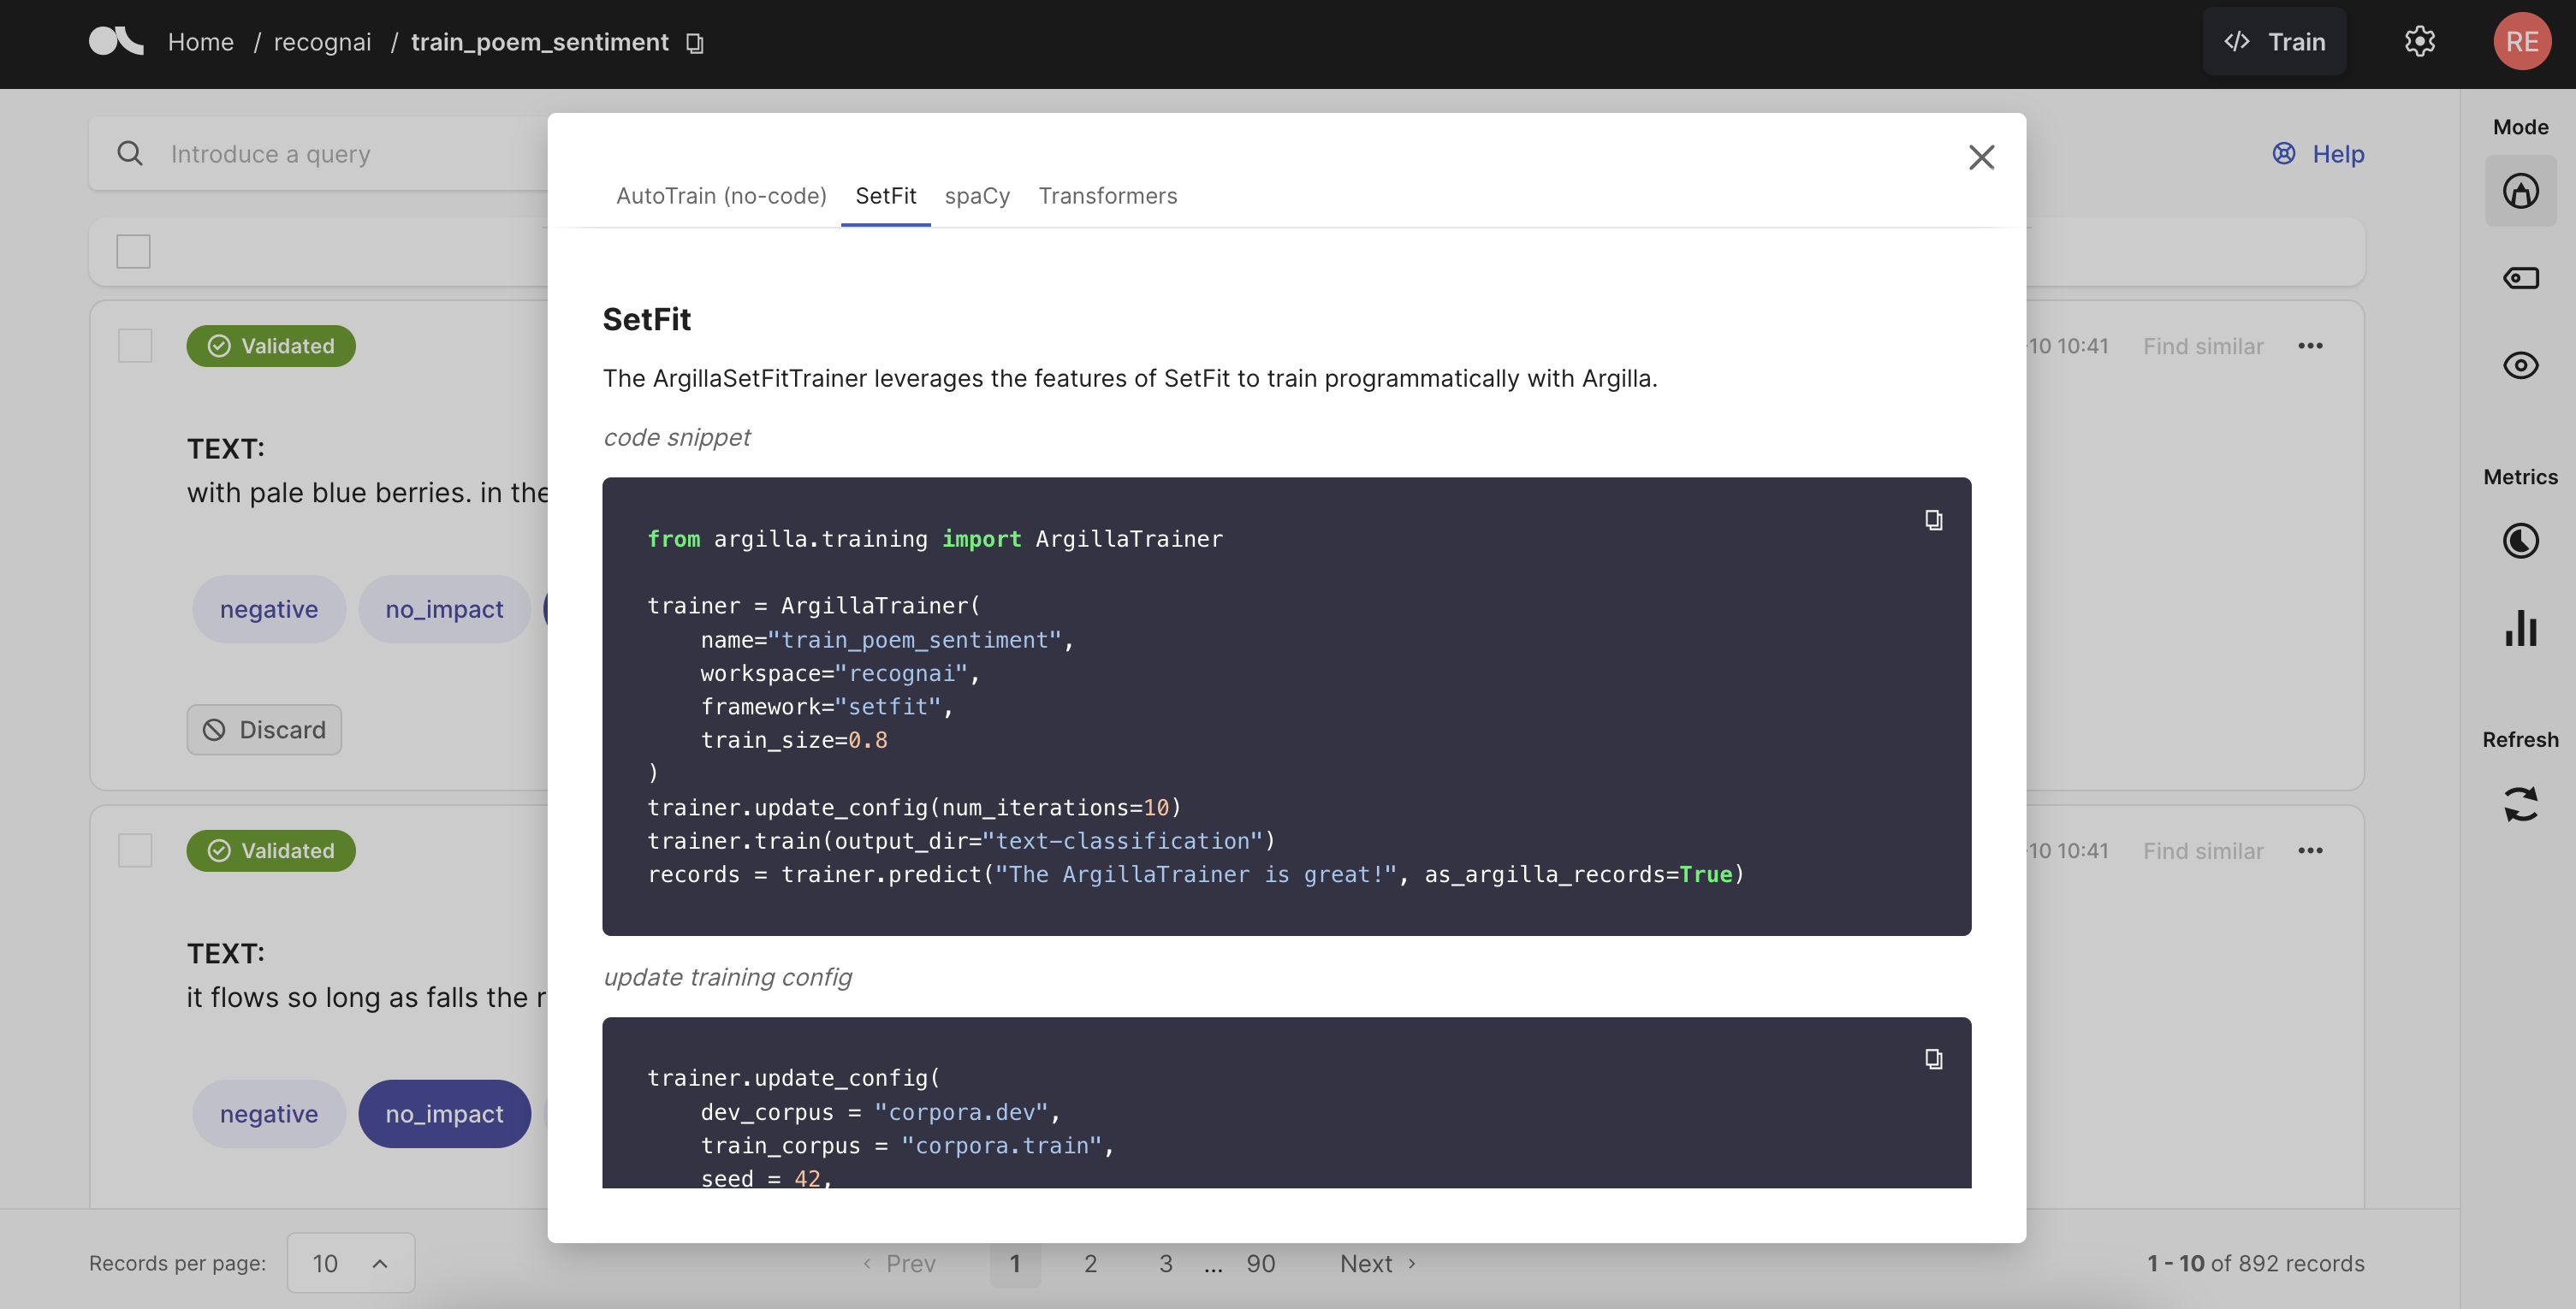
We love our open-source training libraries as much as you do, so we provide integrations with all of them to limit the time you spend on data preparation and have more fun with actual training. We support spacy, transformers, setfit, openai, autotrain, and way more. Want to get to know all support? Train/fine-tune a model from a FeedbackDataset as explained here, or either a TextClassificationDataset or a TokenClassificationDatasethere.
from argilla.training import ArgillaTrainer

trainer = ArgillaTrainer(
    name="my_dataset",
    workspace="my_workspace",
    framework="my_framework",
    model="my_framework_model",
    train_size=0.8,
    seed=42,
    limit=10,
    query="my-query"
)
trainer.update_config() # see usage below
trainer.train()
records = trainer.predict(["my-text"], as_argilla_records=True)
# `OpenAI.FineTune`
trainer.update_config(
    training_file = None,
    validation_file = None,
    model = "gpt-3.5-turbo-0613",
    hyperparameters = {"n_epochs": 1},
    suffix = None
)

# `OpenAI.FineTune` (legacy)
trainer.update_config(
    training_file = None,
    validation_file = None,
    model = "curie",
    n_epochs = 2,
    batch_size = None,
    learning_rate_multiplier = 0.1,
    prompt_loss_weight = 0.1,
    compute_classification_metrics = False,
    classification_n_classes = None,
    classification_positive_class = None,
    classification_betas = None,
    suffix = None
)
# `AutoTrain.autotrain_advanced`
trainer.update_config(
    model = "autotrain", # hub models like roberta-base
    autotrain = [{
        "source_language": "en",
        "num_models": 5
    }],
    hub_model = [{
        "learning_rate":  0.001,
        "optimizer": "adam",
        "scheduler": "linear",
        "train_batch_size": 8,
        "epochs": 10,
        "percentage_warmup": 0.1,
        "gradient_accumulation_steps": 1,
        "weight_decay": 0.1,
        "tasks": "text_binary_classification", # this is inferred from the dataset
    }]
)
# `setfit.SetFitModel`
trainer.update_config(
    pretrained_model_name_or_path = "all-MiniLM-L6-v2",
    force_download = False,
    resume_download = False,
    proxies = None,
    token = None,
    cache_dir = None,
    local_files_only = False
)
# `setfit.SetFitTrainer`
trainer.update_config(
    metric = "accuracy",
    num_iterations = 20,
    num_epochs = 1,
    learning_rate = 2e-5,
    batch_size = 16,
    seed = 42,
    use_amp = True,
    warmup_proportion = 0.1,
    distance_metric = "BatchHardTripletLossDistanceFunction.cosine_distance",
    margin = 0.25,
    samples_per_label = 2
)
# `spacy.training`
trainer.update_config(
    dev_corpus = "corpora.dev",
    train_corpus = "corpora.train",
    seed = 42,
    gpu_allocator = 0,
    accumulate_gradient = 1,
    patience = 1600,
    max_epochs = 0,
    max_steps = 20000,
    eval_frequency = 200,
    frozen_components = [],
    annotating_components = [],
    before_to_disk = None,
    before_update = None
)
# `transformers.AutoModelForTextClassification`
trainer.update_config(
    pretrained_model_name_or_path = "distilbert-base-uncased",
    force_download = False,
    resume_download = False,
    proxies = None,
    token = None,
    cache_dir = None,
    local_files_only = False
)
# `transformers.TrainingArguments`
trainer.update_config(
    per_device_train_batch_size = 8,
    per_device_eval_batch_size = 8,
    gradient_accumulation_steps = 1,
    learning_rate = 5e-5,
    weight_decay = 0,
    adam_beta1 = 0.9,
    adam_beta2 = 0.9,
    adam_epsilon = 1e-8,
    max_grad_norm = 1,
    learning_rate = 5e-5,
    num_train_epochs = 3,
    max_steps = 0,
    log_level = "passive",
    logging_strategy = "steps",
    save_strategy = "steps",
    save_steps = 500,
    seed = 42,
    push_to_hub = False,
    hub_model_id = "user_name/output_dir_name",
    hub_strategy = "every_save",
    hub_token = "1234",
    hub_private_repo = False
)
# `peft.LoraConfig`
trainer.update_config(
    r=8,
    target_modules=None,
    lora_alpha=16,
    lora_dropout=0.1,
    fan_in_fan_out=False,
    bias="none",
    inference_mode=False,
    modules_to_save=None,
    init_lora_weights=True,
)
# `transformers.AutoModelForTextClassification`
trainer.update_config(
    pretrained_model_name_or_path = "distilbert-base-uncased",
    force_download = False,
    resume_download = False,
    proxies = None,
    token = None,
    cache_dir = None,
    local_files_only = False
)
# `transformers.TrainingArguments`
trainer.update_config(
    per_device_train_batch_size = 8,
    per_device_eval_batch_size = 8,
    gradient_accumulation_steps = 1,
    learning_rate = 5e-5,
    weight_decay = 0,
    adam_beta1 = 0.9,
    adam_beta2 = 0.9,
    adam_epsilon = 1e-8,
    max_grad_norm = 1,
    learning_rate = 5e-5,
    num_train_epochs = 3,
    max_steps = 0,
    log_level = "passive",
    logging_strategy = "steps",
    save_strategy = "steps",
    save_steps = 500,
    seed = 42,
    push_to_hub = False,
    hub_model_id = "user_name/output_dir_name",
    hub_strategy = "every_save",
    hub_token = "1234",
    hub_private_repo = False
)
# `SpanMarkerConfig`
trainer.update_config(
    pretrained_model_name_or_path = "distilbert-base-cased"
    model_max_length = 256,
    marker_max_length = 128,
    entity_max_length = 8,
)
# `transformers.TrainingArguments`
trainer.update_config(
    per_device_train_batch_size = 8,
    per_device_eval_batch_size = 8,
    gradient_accumulation_steps = 1,
    learning_rate = 5e-5,
    weight_decay = 0,
    adam_beta1 = 0.9,
    adam_beta2 = 0.9,
    adam_epsilon = 1e-8,
    max_grad_norm = 1,
    learning_rate = 5e-5,
    num_train_epochs = 3,
    max_steps = 0,
    log_level = "passive",
    logging_strategy = "steps",
    save_strategy = "steps",
    save_steps = 500,
    seed = 42,
    push_to_hub = False,
    hub_model_id = "user_name/output_dir_name",
    hub_strategy = "every_save",
    hub_token = "1234",
    hub_private_repo = False
)
# Parameters from `trl.RewardTrainer`, `trl.SFTTrainer`, `trl.PPOTrainer` or `trl.DPOTrainer`.
# `transformers.TrainingArguments`
trainer.update_config(
    per_device_train_batch_size = 8,
    per_device_eval_batch_size = 8,
    gradient_accumulation_steps = 1,
    learning_rate = 5e-5,
    weight_decay = 0,
    adam_beta1 = 0.9,
    adam_beta2 = 0.9,
    adam_epsilon = 1e-8,
    max_grad_norm = 1,
    learning_rate = 5e-5,
    num_train_epochs = 3,
    max_steps = 0,
    log_level = "passive",
    logging_strategy = "steps",
    save_strategy = "steps",
    save_steps = 500,
    seed = 42,
    push_to_hub = False,
    hub_model_id = "user_name/output_dir_name",
    hub_strategy = "every_save",
    hub_token = "1234",
    hub_private_repo = False
)
# Parameters related to the model initialization from `sentence_transformers.SentenceTransformer`
trainer.update_config(
    model="sentence-transformers/all-MiniLM-L6-v2",
    modules = False,
    device="cuda",
    cache_folder="dir/folder",
    use_auth_token=True
)
# and from `sentence_transformers.CrossEncoder`
trainer.update_config(
    model="cross-encoder/ms-marco-MiniLM-L-6-v2",
    num_labels=2,
    max_length=128,
    device="cpu",
    tokenizer_args={},
    automodel_args={},
    default_activation_function=None
)
# Related to the training procedure from `sentence_transformers.SentenceTransformer`
trainer.update_config(
    steps_per_epoch = 2,
    checkpoint_path: str = None,
    checkpoint_save_steps: int = 500,
    checkpoint_save_total_limit: int = 0
)
# and from `sentence_transformers.CrossEncoder`
trainer.update_config(
    loss_fct = None
    activation_fct = nn.Identity(),
)
# The remaining arguments are common for both procedures
trainer.update_config(
    evaluator: SentenceEvaluator = evaluation.EmbeddingSimilarityEvaluator,
    epochs: int = 1,
    scheduler: str = 'WarmupLinear',
    warmup_steps: int = 10000,
    optimizer_class: Type[Optimizer] = torch.optim.AdamW,
    optimizer_params : Dict[str, object]= {'lr': 2e-5},
    weight_decay: float = 0.01,
    evaluation_steps: int = 0,
    output_path: str = None,
    save_best_model: bool = True,
    max_grad_norm: float = 1,
    use_amp: bool = False,
    callback: Callable[[float, int, int], None] = None,
    show_progress_bar: bool = True,
)
# Other parameters that don't correspond to the initialization or the trainer, but
# can be set externally.
trainer.update_config(
    batch_size=8,  # It will be passed to the DataLoader to generate batches during training.
    loss_cls=losses.BatchAllTripletLoss
)